Rebuilding the Patio Canopy: Integrating Modern Techniques & Materials, Part 2
The journey of rebuilding my patio canopy was no different. This section delves into the process of how I seamlessly integrated a sturdy 6×6 post through the existing roof eave and employed 3D printing technology for a custom solution.
1. Integrating the 6×6 Post:
Stability is paramount when you’re working on a structure like a patio canopy. By choosing to work with a 6×6 post, I was not only looking at durability but also an aesthetic that commands attention.
Steps to Integration:
- Measurement: First, I ensured that the location of the post was precisely where I wanted it, keeping in mind the balance and the overall design of the canopy.
- Cutting through the Eave: Cutting through an existing structure requires a steady hand and the right tools. I used a reciprocating saw to create a neat opening just wide enough for the post.
- Placement: The 6×6 post was then vertically aligned and set into its predetermined position.
2. Custom 3D Printed Flashing:
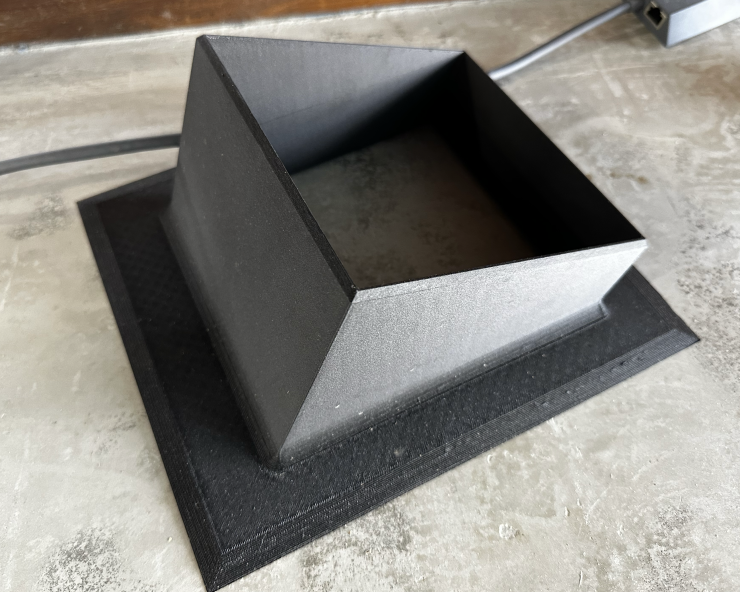
Here’s where tradition meets technology. To ensure a watertight seal around the post and the roof eave, a flashing is vital. Instead of settling for an off-the-shelf solution, I took the modern route.
Steps for Flashing:
- Designing: Using CAD software, I designed a flashing tailored to fit snugly around the 6×6 post, ensuring compatibility with the roof eave’s shape and dimensions.
- Material Choice: Carbon Fiber filament was chosen for its strength and weather-resistant properties. This ensured that the flashing would last a long time without deteriorating.
- 3D Printing: Once the design was ready, I sent it to my 3D printer. A few hours later, a custom flashing, perfect for my needs, was ready.
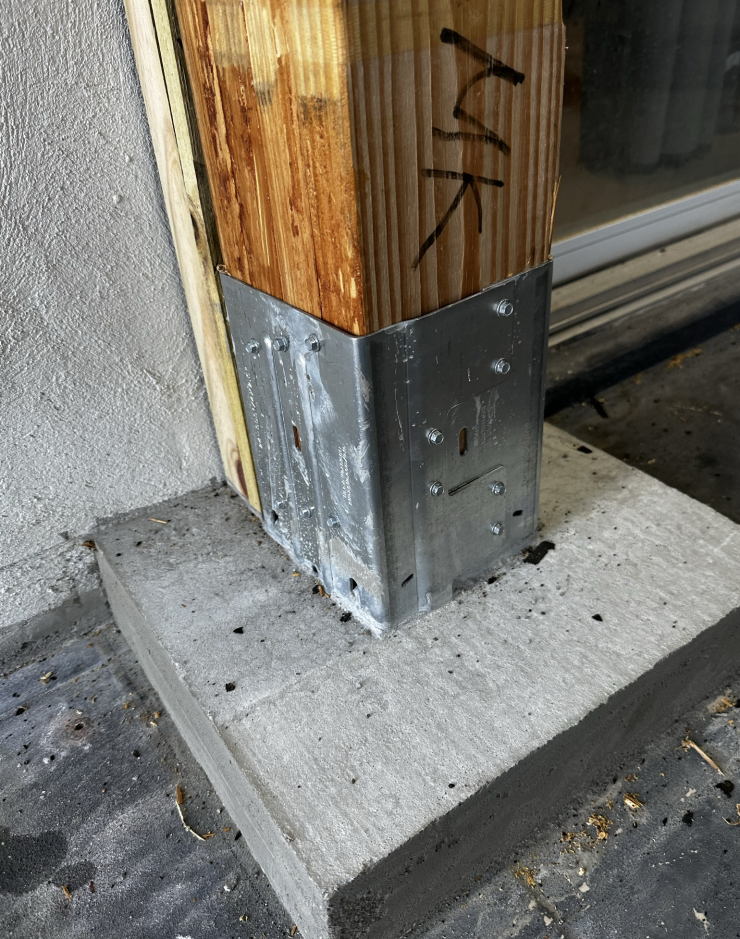
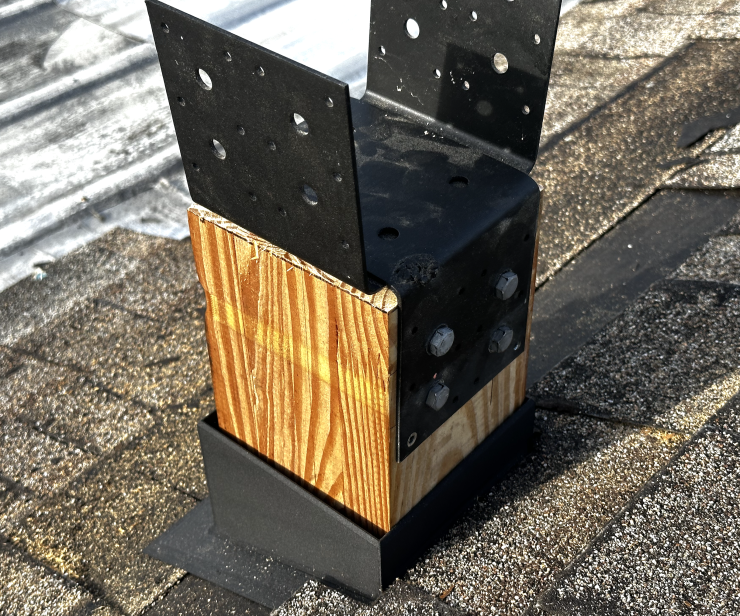
3. Connecting the Post and Beam:
Connecting the post and beam securely is crucial for the structural integrity of the canopy. This is where the U-brackets come into play.
Steps for Connection:
- U-Brackets: I used two interlinked U-brackets, chosen for their strength and reliability.
- Alignment: After marking the correct heights on both the post and the beam, the U-brackets were positioned.
- Through Bolting: Once aligned, I drilled holes for through bolts, ensuring they were of the right diameter. With corrosion-resistant bolts, washers, and nuts, the post and beam were tightly connected.
The marriage of traditional woodworking and modern technology like 3D printing has added a unique touch to the canopy project. Not only does the structure stand tall with reinforced strength, but the custom elements, like the 3D printed flashing, add a personal touch. The canopy is not just a shelter; it’s a testament to innovation and creativity in home improvement.