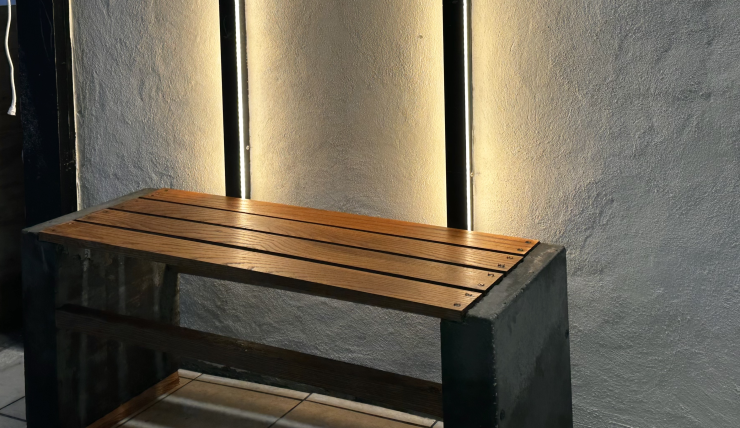
Red Oak Bench with Stained Black Concrete
A well-designed outdoor pool area can create a sanctuary of leisure and relaxation for you, your family, and friends. One essential element to achieving that perfect ambiance is comfortable and stylish seating. In this blog post, we will guide you through the process of making a unique, custom bench for your pool area using black stained concrete and red oak wood. This elegant fusion of materials will not only add a touch of sophistication to your outdoor space but also provide a durable, weather-resistant seating option for years to come.
Materials:
- Black stained concrete mix
- Red oak wood planks
- Wood sealant
- Concrete mold
- Concrete release agent
- Concrete sealer
- Wood screws
- Heavy-duty brackets
Tools:
- Trowel
- Level
- Saw
- Sandpaper
- Power drill
- Paintbrush
Step 1: Preparing the Concrete Mix and Mold Start by preparing the black stained concrete mix according to the manufacturer’s instructions. To create the bench’s legs, you will need a concrete mold that is suitable for the desired size and shape. Apply a concrete release agent to the mold to ensure easy removal of the concrete once it has set.
Step 2: Pouring the Concrete Carefully pour the black stained concrete mix into the mold, filling it to the top. Use a trowel to level the concrete, ensuring that the surface is smooth and even. Allow the concrete to cure for at least 24 hours or according to the manufacturer’s recommendations.
Step 3: Preparing the Red Oak Wood While the concrete cures, begin preparing the red oak wood planks for the bench’s seat. Cut the planks to your desired length, ensuring they are equal in size. Sand the wood until it is smooth and free of any rough edges.
Step 4: Sealing the Red Oak Wood To protect the wood from the elements and enhance its natural beauty, apply a wood sealant to the planks. This process may require multiple coats, so follow the manufacturer’s instructions for best results. Allow the sealant to dry thoroughly before moving on to the next step.
Step 5: Removing the Concrete from the Mold Once the concrete has fully cured, carefully remove the bench legs from the mold. Gently sand any rough edges or imperfections using sandpaper. To add an extra layer of protection and a polished finish, apply a concrete sealer to the legs following the manufacturer’s instructions.
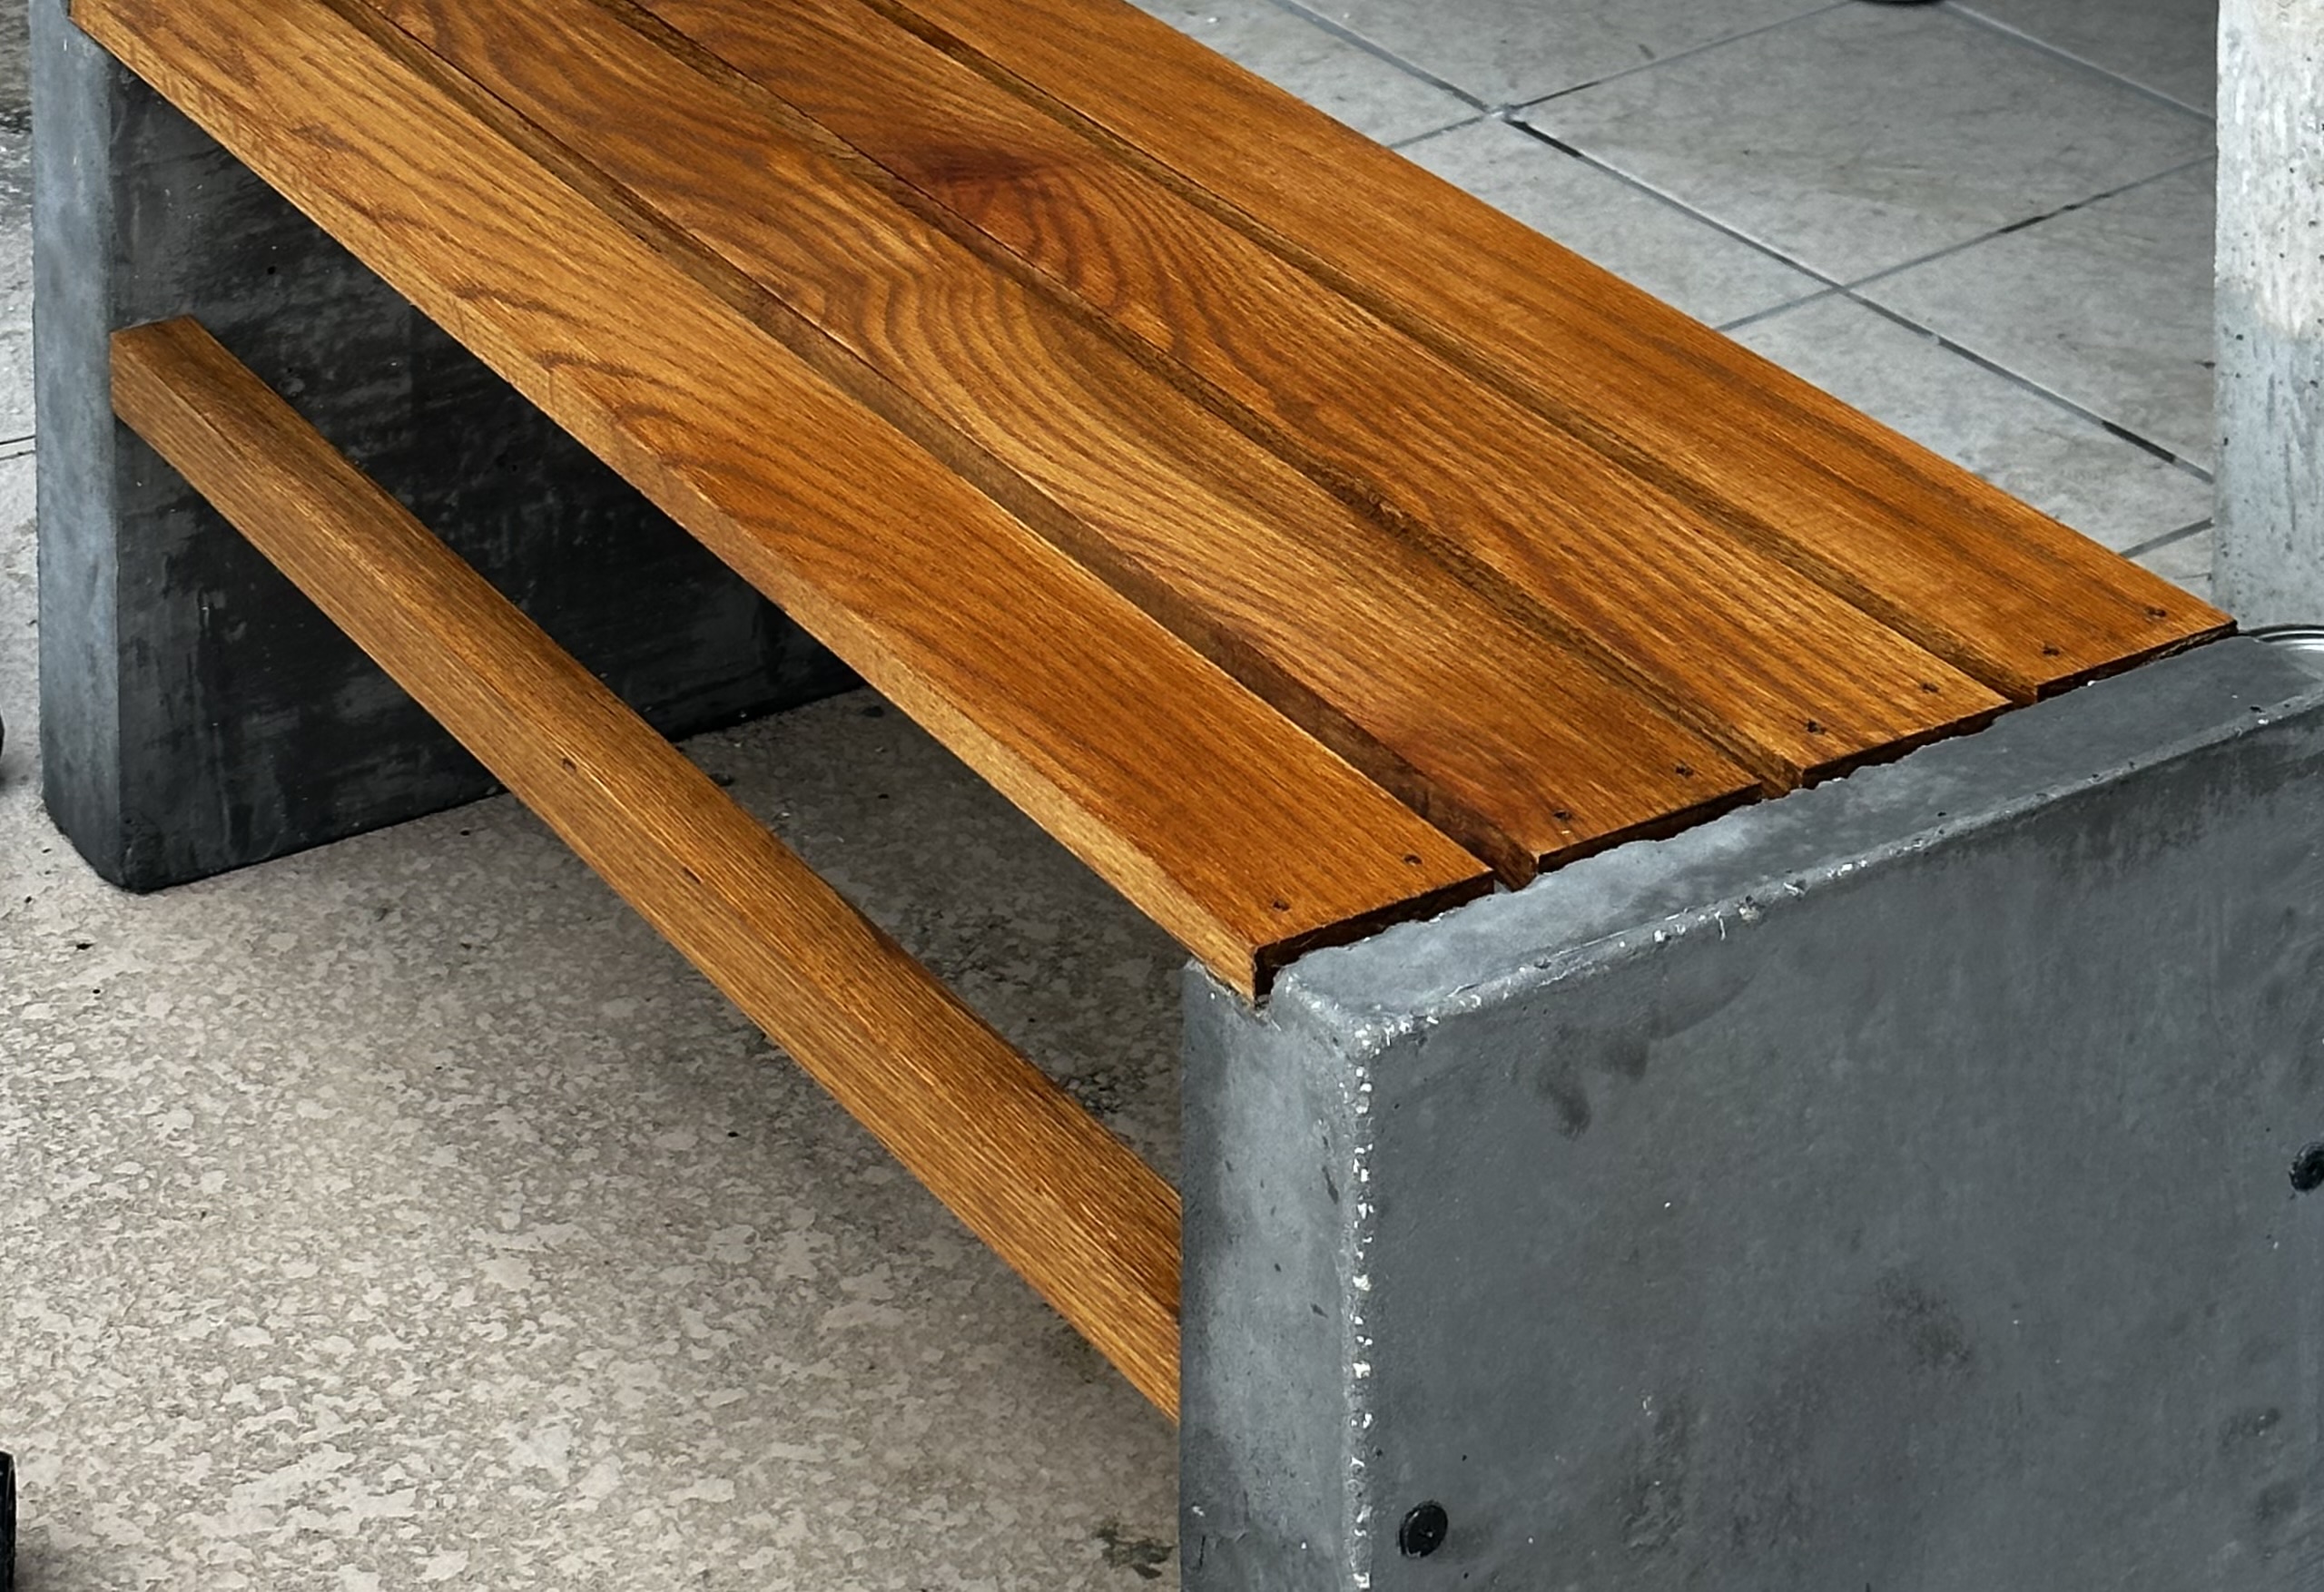
Step 6: Assembling the Bench Lay the red oak wood planks on a flat surface, spacing them evenly to create the bench seat. Place the concrete legs beneath the seat, ensuring they are level and evenly spaced. Secure the wood planks to the concrete legs using heavy-duty brackets and wood screws, making sure to pre-drill holes to avoid splitting the wood.
Your new black stained concrete and red oak wood bench is now ready to grace your pool area with elegance and functionality. The contrast between the dark concrete and the rich red oak creates a striking visual impact, while the sturdy construction ensures it will withstand the test of time. Enjoy the satisfaction of crafting this stunning piece for your outdoor oasis and take pride in the compliments it is sure to receive.
Read more